Eautomate comes with quite a few spreadsheet utilities that can be used to import data into Eautomate and export data from Eautomate. The APInvoiceImport can be used to import your vendor invoices into Eautomate so you don't have to manually enter them. (see here for important software you resell under a contract)
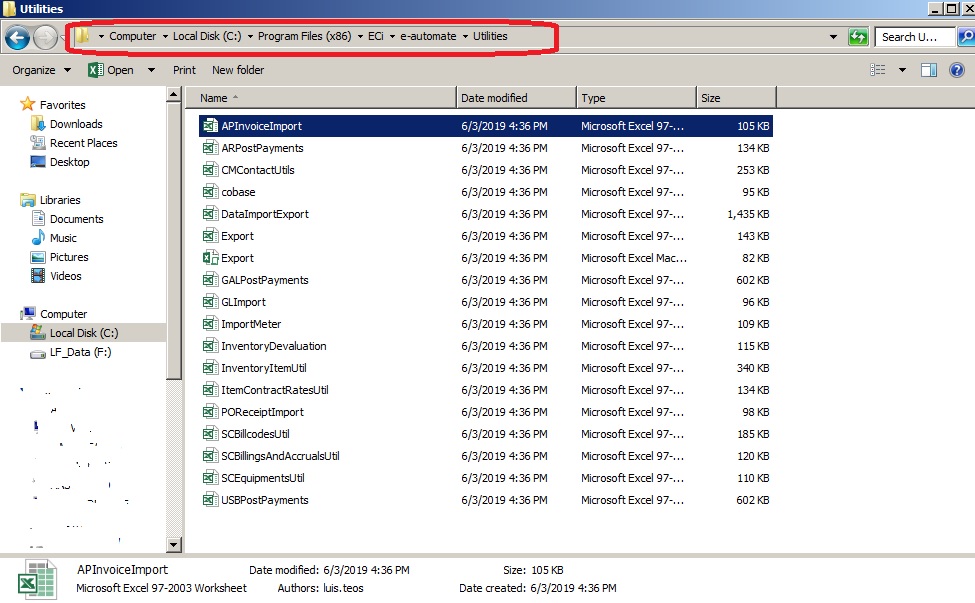
All the utilities are located under C:\Program Files (x86)\ECi\e-automate\Utilities.
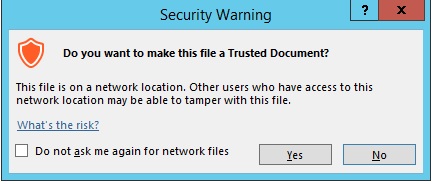
To process data using this spreadsheet utility, you must enable the spreadsheet utility's macros in Excel. If you have macros disabled in Excel, a security warning appears below the Excel ribbon (or below the menu bar if the ribbon is hidden), indicating active content/macros have been disabled.
In Excel 2010, 2013 or 2016, do the following:
a. Click [Enable Content] to allow the active content/macros to run when you process this spreadsheet utility.
b. If the system displays a security warning, click [Yes] to prevent the system from displaying the [Enable Content] message in the future when opening this document or click [No] to have the system redisplay the [Enable Content] message each time you open this document.
· In Excel 2007 do the following:
a. Click [Options] in the security area to open the Microsoft Office Security Options window.
b. In the Microsoft Office Security Options window, select the Enable this content radio button.
c. Click [OK] to close the window.
Note: In Excel, active content/macros are typically disabled as a security precaution. If you do not see a security warning below the Excel ribbon (or below the menu bar if the ribbon is hidden), you can use the following process to set a "disable all macros with notification" option, allowing you to indicate when you want to allow active content/macros to run:
1. Open Excel.
2. Do one of the following based on your version of Excel:
· Using Excel 2010 or 2013, click File.
· Using Excel 2007, click the Office icon.
3. From the menu items displayed, click Options to open the Excel Options window.
4. In the left pane of the Excel Options window, click [Trust Center] to reveal the appropriate options in the right pane.
5. In the right pane of the Excel Options window, click [Trust Center Settings] to open the Trust Center window.
6. In Excel 2010, in the left pane of the Trust Center window, click [Macro Settings] to reveal the appropriate options in the right pane.
Note: This step is required for Excel 2010 only; if you are not using Excel 2010, proceed to the next step.
7. In the Trust Center window, select the Disable all macros with notification radio button.
8. Click [OK] to close the Trust Center window.
9. Click [OK] to close the Excel Options window.
10. Close and reopen Excel in order for the new settings to take effect. A security dialog box should appear beneath the Office ribbon the next time you attempt to run a spreadsheet that contains macros.
Now you can start entering the invoice data. A single invoice can have multiple rows if certain amounts of the total invoice need to go into different GL accounts. For example, a credit card bill may have charges for different types of expenses that need to go to different GL accounts.
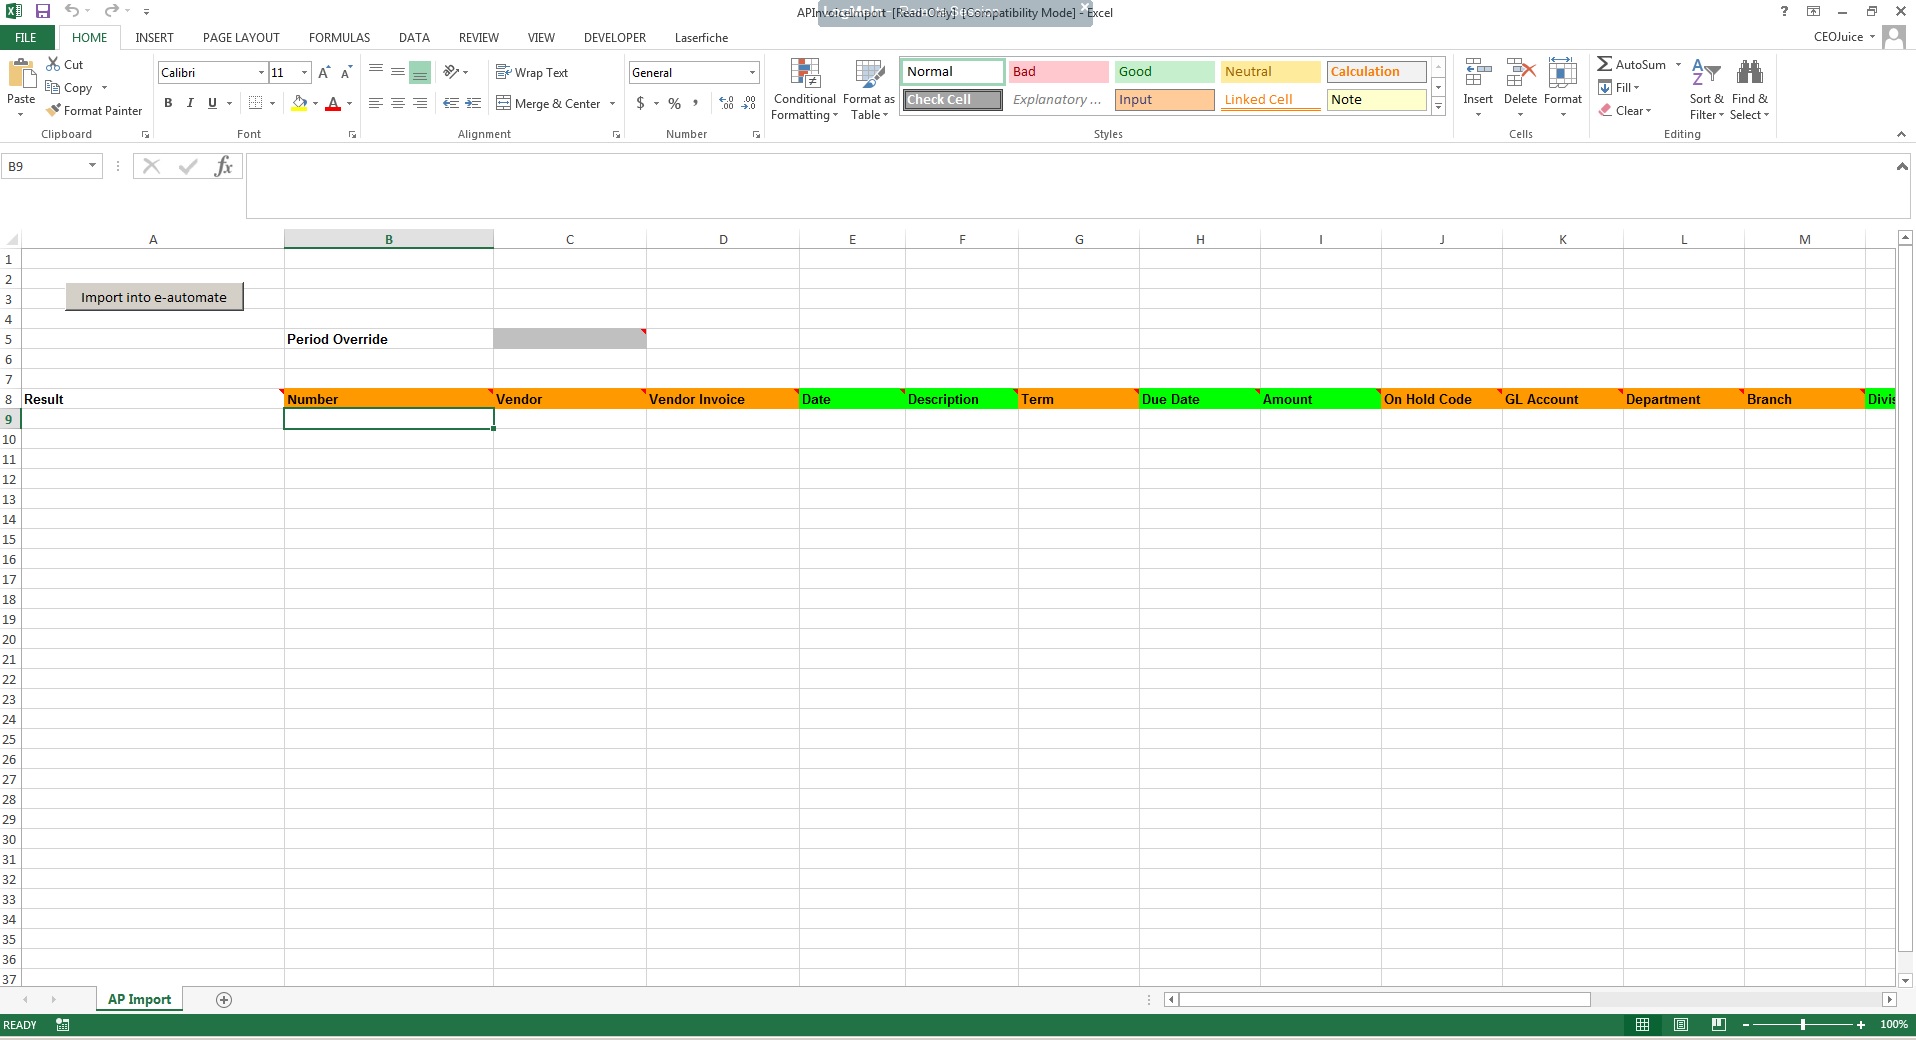
· Result: Leave this column blank; the system populates this column during processing. When you process an import, this column displays Success for each row that was successfully imported and displays applicable error messages for each row that was not successfully imported. Use this column to identify errors so you can make corrections.
· Number: The number you want to assign to this invoice in e-automate. These numbers must be unique and can be as simple as 1,2,3,4, and so on. The import validation prevents duplicate AP invoice numbers; e-automate requires each invoice to have a unique invoice number. If you leave this field blank, e-automate will assign this number.
Note: If you assign this number, use the same number for each row that is part of the same invoice.
· Vendor: The number assigned to the vendor from whom you received the invoice. The vendor number must be exact or the entries will not post.
· Vendor Invoice: The invoice number assigned to the invoice by the vendor. The import validation prevents duplicate invoice numbers for the same vendor; e-automate requires each invoice to have a unique invoice number per vendor.
· Date: The date you want to assign to this invoice in e-automate. The system will also use this date to determine the accounting period in which to post this invoice. If this date is in the future, the system will post the invoice in the associated future period.
Note: If you enter a value in the Period Override cell, that value will override this date for posting AP invoices. For more information, see the description listed above for the Period Override cell.
· Description: A brief header level description of this invoice.
· Term: The code representing the vendor's payment and discount terms for this invoice. You must enter the term code as it is set up in e-automate.
· Due Date: The date payment is due on the invoice based on the vendor's payment terms.
· Amount: The total monetary amount due for all lines on this invoice.
· On Hold Code: If you want to place this invoice on hold, enter in this field the on-hold code approved for use with accounts payable invoices. Invoices that are on hold do not show up in the Pay Vendors activity window until they are released from hold.
If you are entering multiple lines for the same invoice, each row for the same invoice should have the same information in the Number column through the On Hold Code column. In the GL Account column through the Job Number column, each row for the same invoice should have data specific to that line on the invoice.
· GL Account: Account to be debited with this charge. Your account must be entered exactly as it appears in e-automate.
Note: You can leave this field blank if you want to use a GL distribution code. The distribution code will then be used to identify the appropriate general ledger accounts and the percentage to distribute to each account, department, and branch.
· Department: Department you want to associate with this invoice. Your department must be entered exactly as it appears in e-automate.
Note: You can leave this field blank if you want to use a GL distribution code to determine departmental distribution.
· Branch: The company branch with which to associate this invoice. If you do not have branching turned on, enter main.
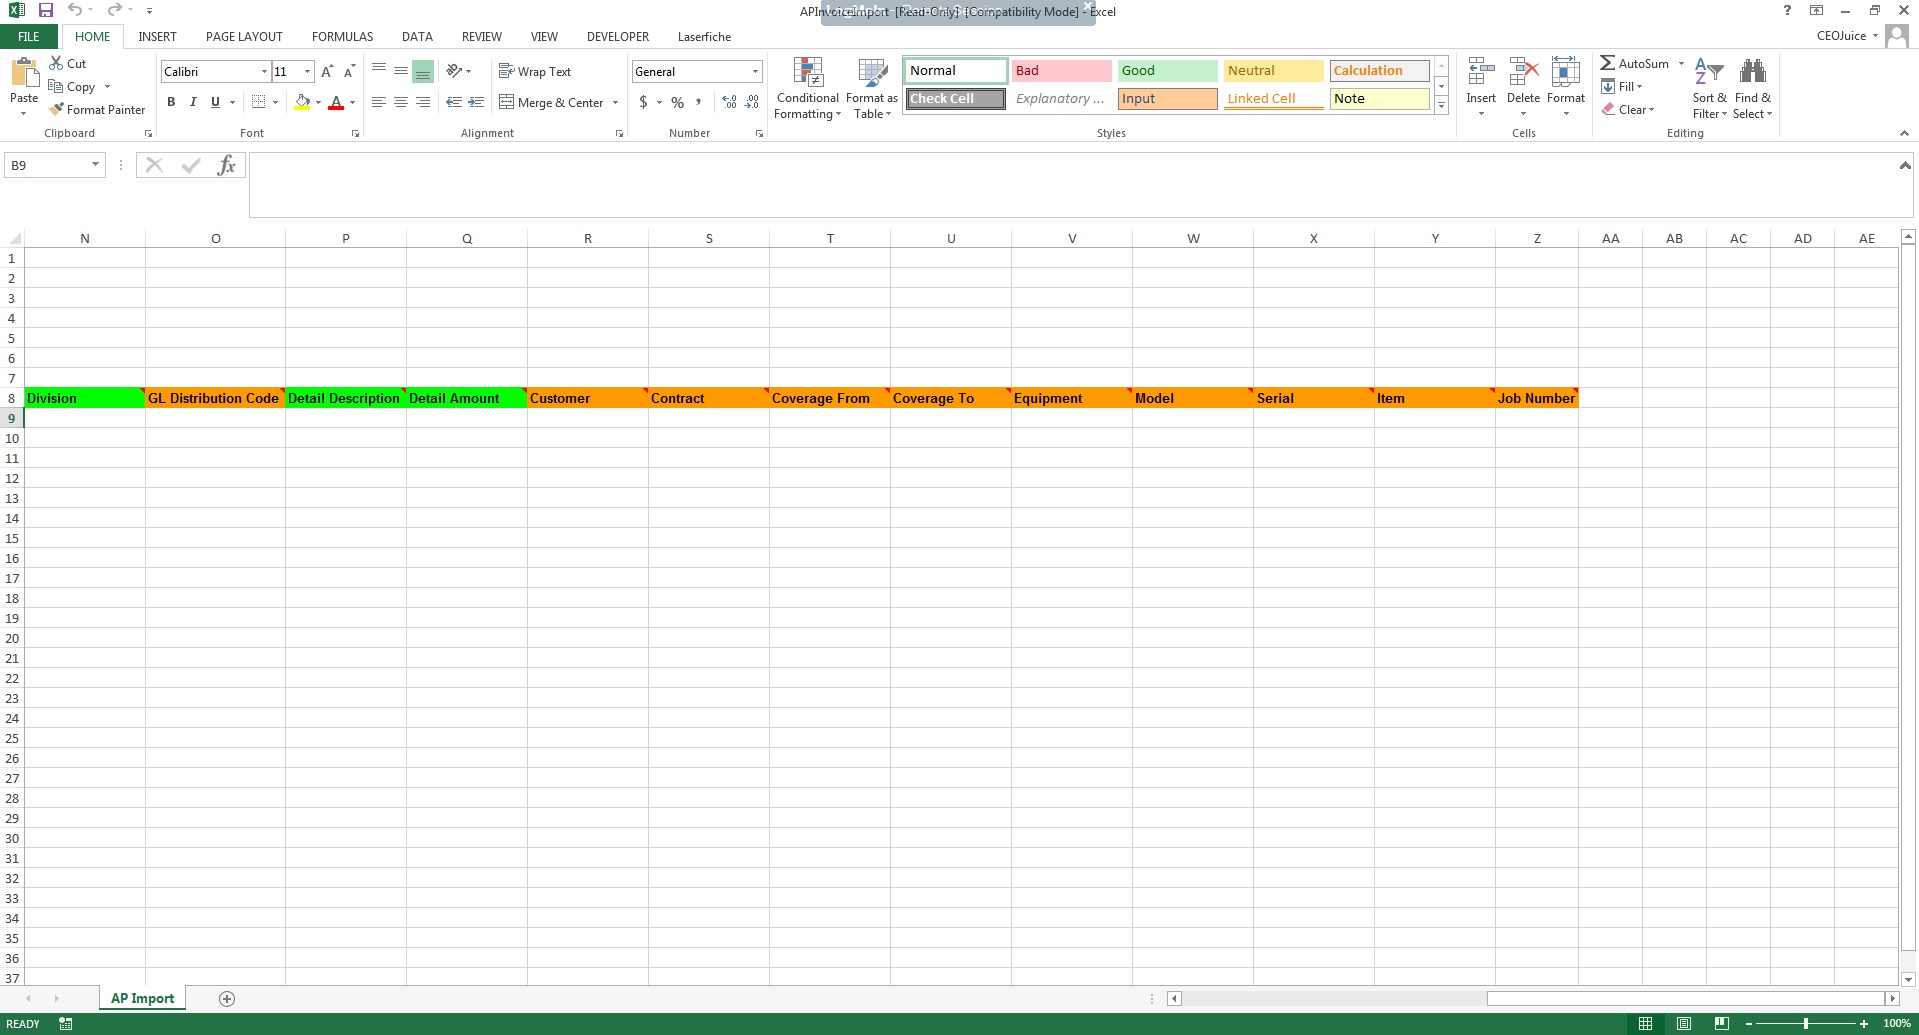
· Division: The division associated with this account. If you do not have a division, enter main.
· GL Distribution Code: The code defining the appropriate general ledger accounts and the percentage to distribute to each account, department, and branch the appropriate amount of this invoice. Only use this field if you want to distribute the expenses on the invoice to the defined distribution code in e-automate. The distribution code you identify must match the distribution code exactly as it appears in the e-automate database to which you want to import.
· Detail Description: A description of this line item. Vendor invoices can have multiple distributions. This description can be different for each distribution.
· Detail Amount: The monetary amount listed for this line item on the invoice. If the invoice contains only one line, this amount should equal the amount entered in the Amount field for this row. If the invoice contains multiple line items, the sum of the amounts entered in this column for all the line items on the invoice should equal the amount entered in the Amount column for each row.
Note: You can add as many distributions as necessary as long as the total for all Detail amount columns for each row sharing the same Vendor invoice number matches the number in the Amount column. You can vary the general ledger account, department, branch, and division.
The following columns—Customer through Job Number—are not required, but you use these columns if you want to associate a vendor invoice with a specific customer contract (e.g., "I'm paying this vendor invoice for this contract, for this customer, for this equipment or serviceable item on a contract.").
· Customer: The customer—if any—with whom you want to associate the invoice costs.
Note: This field is not required.
· Contract: The full number of the service contract (for example, CT10001-01, where 'CT10001' is the Contract number and '01' is the contract's Rev [revision] number)—if any—with which to associate the invoice costs. If you associate vendor invoice costs with contracts, the system uses this information when generating contract profitability reports. Also see this post. Note: This field is not required.
· Coverage From: The beginning date of the coverage period—if any—over which the invoice cost on this row is to be allocated.
Note: This field is not required.
· Coverage To: The ending date of the coverage period—if any—over which the invoice cost on this row is to be allocated.
Note: This field is not required.
· Equipment: The equipment number—if any—with which to associate the invoice cost on this row.
Note: This field is not required. As an alternative to identifying equipment by equipment number, you can leave the Equipment field blank and populate both the Model and Serial fields for this row. The system will then attempt to look up the equipment number based on the model-and-serial-number combination.
· Model: The model number of the equipment—if any—with which to associate the invoice cost on this row.
Note: This field is not required. If you want to identify the equipment by model and serial number instead of by equipment number, you can leave the Equipment field blank and populate both the Model and Serial fields for this row. The system will then attempt to look up the equipment number based on the model-and-serial-number combination. If you populate the Equipment field, leave the Model and Serial fields for this row blank.
· Serial: The serial number of the equipment—if any—with which to associate the invoice cost on this row.
Note: This field is not required. If you want to identify the equipment by model and serial number instead of by equipment number, you can leave the Equipment field blank and populate both the Model and Serial fields for this row. The system will then attempt to look up the equipment number based on the model-and-serial-number combination. If you populate the Equipment field, leave the Model and Serial fields for this row blank.
· Item: The number identifying the serviceable item on a contract—if any—with which to associate the invoice cost on this row.
Note: This field is not required.
· Job Number: Number of the job—if any—associated with this invoice.
Note: This field is not required.
When you are finished making your entries you can save a copy of the spreadsheet with the entries filled in for future use. Click Save As and give it a unique name. When you need to import invoices again you can just change the line items you need to and delete the ones you don't need for your current import.
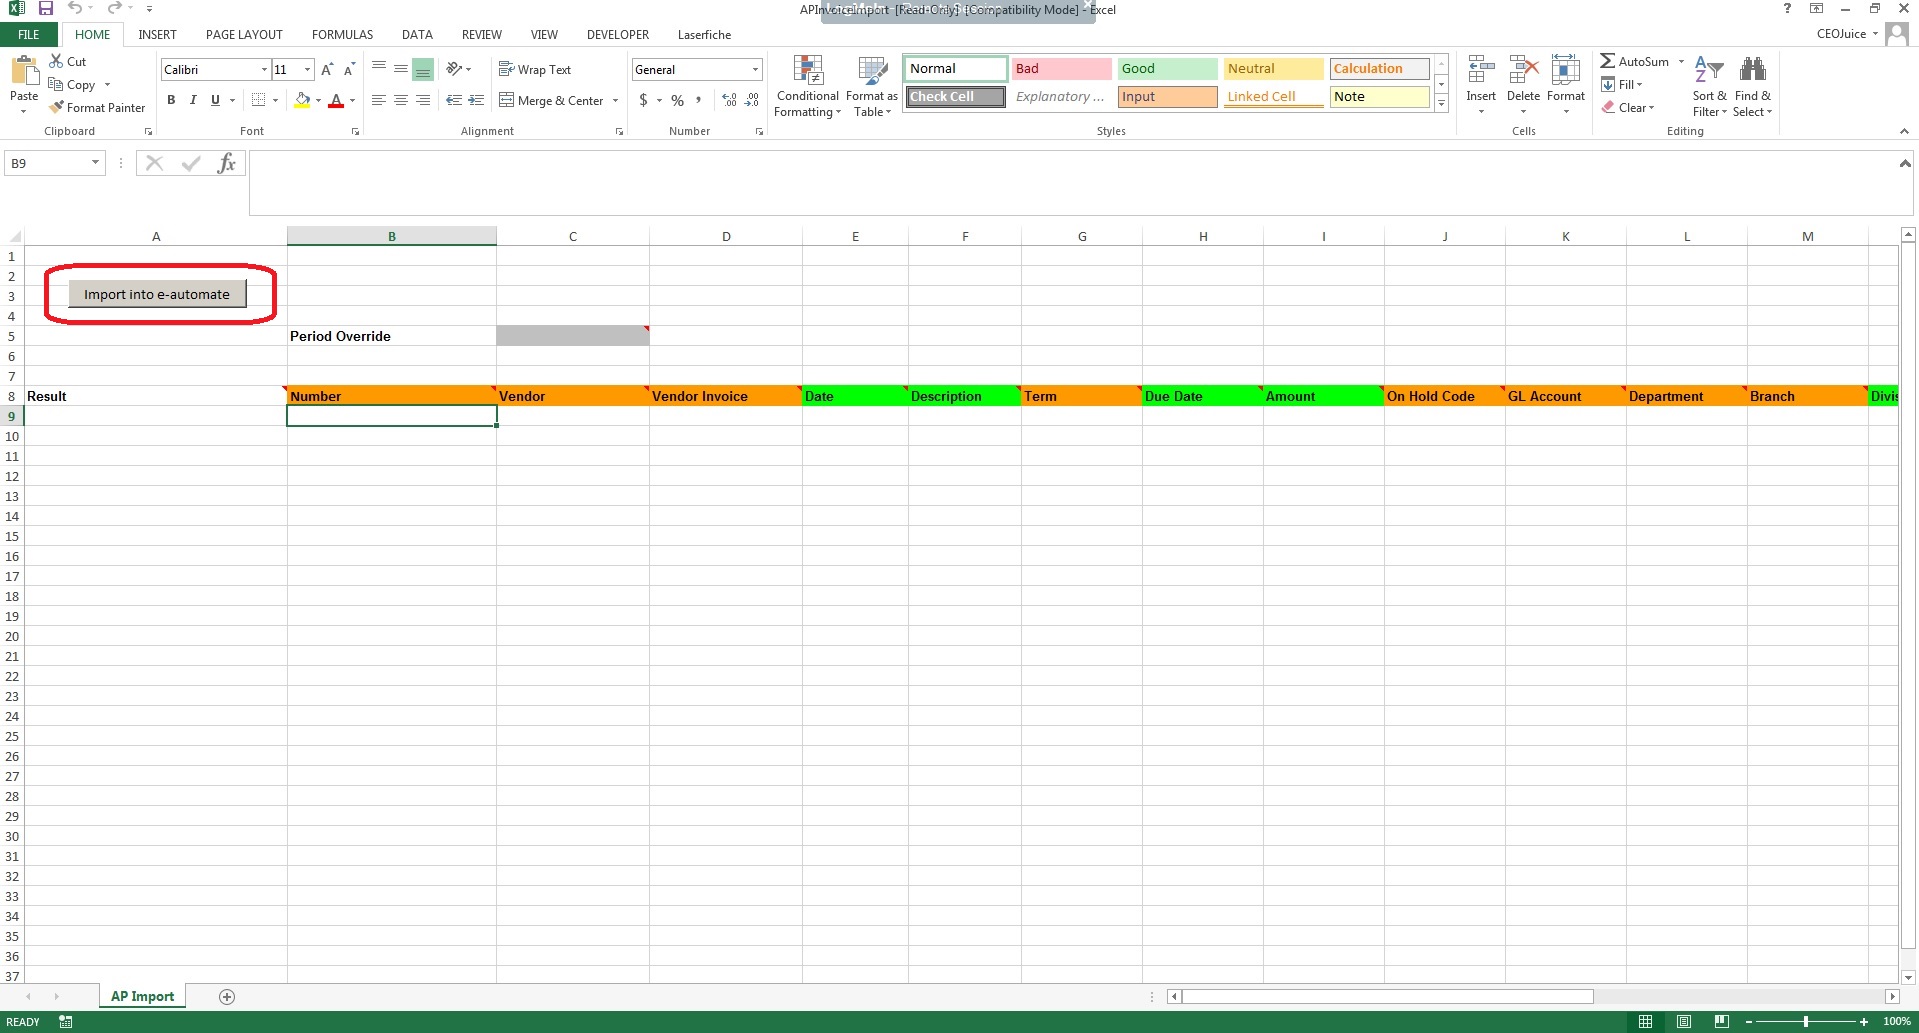
1. Click [Import into e-automate] to import the accounts payable invoices you have entered into the spreadsheet.
2. The system displays the e-automate login window. Log in to e-automate.
Note: If you do not have sufficient security rights, the system displays an error message. If you need additional rights, check with your system administrator to obtain the appropriate rights. Rights for spreadsheet utilities are specific to each utility.
3. The system displays the Confirm Database window. Do one of the following:
•Click [Yes] to confirm the database selected for spreadsheet utility processing.
•Click [No] to cancel and return to the spreadsheet utility.
•Click [Change database] to select a different database. The system re-displays the e-automate login window.
4. If you clicked [Yes] in the previous step, the system begins the import process. When the import process completes, view your journal entries in e-automate and the spreadsheet utility's Result column. For each record, the Result column will indicate if the import was successful or if an error occurred during import.
Note: If any errors occurred, make the necessary corrections and re-process the import as necessary.
The invoices will now be available to pay in Eautomate.
0 Comments